
Why won’t my golf cart start? Most times, a golf cart will not start because of a dead battery, a faulty starter solenoid, issues with the ignition switch, or problems with the fuel system (for gas carts). These are common problems that you can often fix yourself with some simple checks. Knowing what to look for helps you get back on the green fast. This guide will show you how to find and fix the top reasons your golf cart won’t start.
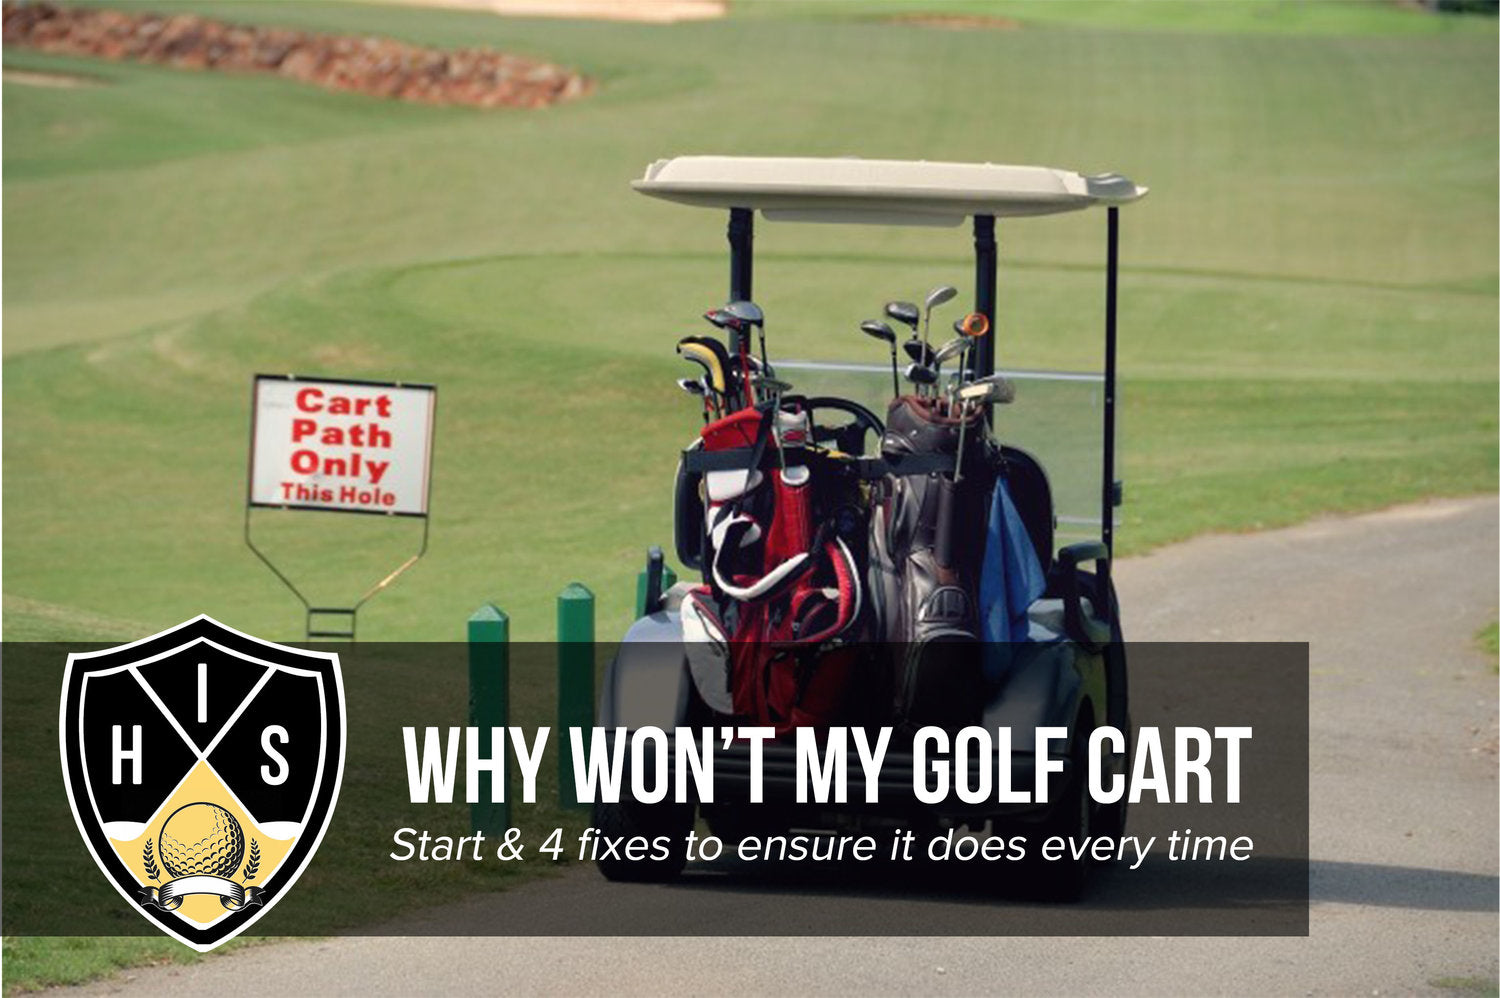
Image Source: hittingitsolid.com
Solving Your Golf Cart Starting Woes
A golf cart that will not start can be frustrating. Both electric and gas carts have parts that can go bad. Knowing which part is causing trouble is key. We will look at the most common reasons why your golf cart stays put. We will give you steps to check each part. This way, you can get your cart moving again.
Fix 1: Check Your Golf Cart Battery
Golf cart battery problems are the most common reason a cart won’t start. Without enough power, nothing works. This is true for both electric and gas golf carts. Electric carts run entirely on battery power. Gas carts need a battery to start the engine. A weak or dead battery will always stop your cart.
Battery Basics for Golf Carts
Golf carts use deep-cycle batteries. These batteries give steady power over a long time. They are different from car batteries. Car batteries give a quick burst of power to start an engine. Golf cart batteries are often wired in a series. This means you have multiple batteries (like 6V, 8V, or 12V) hooked up together. This makes the total voltage higher (36V, 48V, or 72V).
Signs of Golf Cart Battery Problems
How do you know if your battery is the problem? Look for these signs:
- No power at all: The lights do not turn on. The horn does not work. Nothing happens when you press the pedal.
- Slow cranking (gas carts): The engine turns over very slowly. It might sound weak.
- A click but no start: You hear a click sound when you press the pedal. But the motor does not turn. This often points to low battery power. It could also mean a bad solenoid. We will talk more about the solenoid later.
- Corrosion: There is a white or blue crust on the battery terminals. This can stop power flow.
- Swollen battery case: The sides of the battery look puffed out. This means internal damage.
- Low water levels (for flooded lead-acid batteries): The liquid inside the battery is low. This can dry out the plates.
How to Test Your Golf Cart Battery
Testing your battery is simple. You will need a multimeter.
- Check overall voltage: Set your multimeter to DC volts. Touch the red probe to the main positive terminal. Touch the black probe to the main negative terminal. This is the positive of the first battery and the negative of the last battery in the series. A 36V cart should read around 38.2V when fully charged. A 48V cart should read around 50.9V. If the voltage is much lower, the battery is dead or weak.
- Check individual battery voltage: Test each battery in the series. A 6V battery should read around 6.3V. An 8V battery should read around 8.4V. A 12V battery should read around 12.6V. If one battery is much lower than the others, it is likely the bad one. This is called a “bad cell.” A bad cell can bring down the whole pack.
- Load test (if possible): Some multimeters have a load test feature. Or you can buy a dedicated load tester. This puts a “load” on the battery. It checks how well the battery holds voltage when working. If the voltage drops too fast, the battery is weak.
Table: Golf Cart Battery Voltage Chart
| Total Voltage (Cart) | Battery Type | Fully Charged (No Load) | Half Charged | Dead |
|---|---|---|---|---|
| 36V | 6 x 6V | 38.2V | 37.0V | 35.0V |
| 48V | 6 x 8V | 50.9V | 49.0V | 47.0V |
| 48V | 4 x 12V | 50.9V | 49.0V | 47.0V |
- Note: These are general numbers. Always check your cart’s manual for exact specs.
Charging Your Batteries
If your batteries are low, charge them. Make sure your golf cart charger not working is not the reason.
- Check the charger: Plug in the charger. Does it light up? Does it make noise? Is the cooling fan running? If not, the charger itself might be broken.
- Check the charging port: Make sure the charger plug fits well into the cart’s port. No loose connections.
- Charging cycle: Let the charger run for at least 8-10 hours. Even longer for very dead batteries. For very low batteries, some smart chargers may not turn on. If your charger has an “override” mode, use it. Or you might need to use a regular car battery charger on each battery for a short time to get the voltage up. Then switch to the golf cart charger.
- Listen for clicks or sounds: A fully charged battery pack can still seem dead if the charger or its connections are bad.
Battery Maintenance Tips
Good care makes batteries last longer.
- Check water levels: For flooded lead-acid batteries, check water levels often. Add distilled water if needed. Never use tap water. The plates should be covered.
- Clean terminals: Keep battery terminals clean. Use a wire brush to remove corrosion. Apply anti-corrosion spray.
- Keep charged: Always charge your batteries after each use. Do not let them sit discharged for long.
- Store properly: If storing the cart for winter, charge batteries fully. Disconnect them. Store in a cool, dry place. Charge them every month or so.
Fix 2: Investigate the Starter System (Electric and Gas Carts)
The starter system is what gets the cart moving. It is different for electric and gas carts. But both have parts that can go bad.
For Electric Carts: The Solenoid and Controller
If your electric golf cart has power but doesn’t move, the starter solenoid or controller might be the issue.
Golf Cart Clicks but Won’t Start
This is a very common issue. You press the pedal. You hear a “click” sound. But the cart does not move. This click usually comes from the solenoid. The solenoid is like a big switch. It lets a lot of power go from the battery to the motor.
Why does it click but not start?
- Low battery power: The battery has enough power to engage the solenoid. But not enough to turn the motor. (See Fix 1).
- Bad solenoid: The solenoid itself might be broken. It clicks, but the internal contacts are dirty or worn. So, power does not reach the motor.
- Bad motor: The motor might be locked up or burned out. The solenoid clicks, but the motor cannot turn.
- Bad connections: Wires to the solenoid or motor are loose or corroded.
Golf Cart Starter Solenoid Test
Testing the solenoid is key when you hear a click.
- Locate the solenoid: It is a small cylinder or box. It has two large posts for the main power wires. It also has two smaller posts for control wires.
- Check for voltage to the motor:
- Safety first: Put the cart in neutral. Set the parking brake. Disconnect the main battery negative cable.
- Reconnect the main battery negative cable.
- Have a helper press the accelerator pedal.
- With a multimeter, touch the negative probe to the main negative battery post.
- Touch the positive probe to the output post of the solenoid (the one that goes to the motor).
- If you hear a click and get full battery voltage (e.g., 36V or 48V) at the output post, the solenoid is likely good. The problem is probably the motor or its wiring.
- If you hear a click but get no voltage (or very low voltage) at the output post, the solenoid is bad. It is clicking but not sending power through.
- Bypass the solenoid (for testing only!):
- CAUTION: This is dangerous. Only do this if you know what you are doing. The cart WILL move.
- DO NOT do this on electric carts with controllers. This test is mainly for older, resistor-coil electric carts or gas carts.
- If you have a gas cart: Put the cart in neutral. Turn the key off. Use a heavy-duty screwdriver or wrench. Briefly touch it across the two large terminals on the solenoid. This should bypass the solenoid and send power straight to the starter motor. If the starter motor turns, the solenoid is bad. If it does not turn, the starter motor is bad.
- For modern electric carts with controllers, do not bypass the solenoid. It can damage the controller.
Golf Cart Controller Failure
The controller is the “brain” of an electric golf cart. It tells the motor how much power to use. It controls speed and direction. A golf cart controller failure can cause many issues. Sometimes the cart won’t move at all. Sometimes it moves slowly or speeds up suddenly.
Signs of controller failure:
- Cart does not move. No clicks, no motor sound.
- Cart moves slowly, even with a full battery.
- Cart loses power part-way through a ride.
- The controller itself might feel very hot.
- A “burnt” smell.
How to check for controller issues:
- Visual inspection: Look at the controller. Is it burnt or melted? Are any wires loose?
- Error codes: Some modern carts have diagnostic ports. A technician can read error codes. These codes point to what is wrong.
- Test power in/out: This is complex. You need a multimeter and a golf cart wiring diagram. Check voltage going into and out of the controller. If power goes in but not out (when the pedal is pressed), the controller might be bad. This often needs a pro.
- Test input signals: Make sure the controller gets signals from the accelerator pedal sensor and the forward/reverse switch. If it does not get these signals, it won’t work.
Replacing a controller is expensive. Make sure it is truly bad before buying a new one.
For Gas Carts: Starter, Spark, and Fuel
Gas golf cart starting issues involve more parts. You need three things for a gas engine to start: spark, fuel, and compression.
Starter Motor
A gas cart needs a starter motor to turn the engine over. If you turn the key and hear nothing or a weak whir, the starter motor might be bad.
- Test: Check for power at the starter motor when the key is turned. If power is there but the starter does not turn, the starter motor is likely bad. If no power, check the key switch, solenoid, and battery connections.
Spark
The spark plug gives the spark to ignite the fuel.
- Check spark plugs:
- Remove a spark plug.
- Reconnect the spark plug wire.
- Ground the plug against a metal part of the engine.
- Turn the key (or press the pedal).
- Look for a bright blue spark. If no spark or a weak yellow spark, the plug is bad. Or the ignition coil is bad. Or the ignitor module is bad.
- Replace plugs: Spark plugs are cheap. Change them if they look old or dirty.
- Check ignition coil: The coil sends high voltage to the plugs. Test its resistance with a multimeter. Check its wires.
- Check ignitor/igniter: This module controls spark timing. It can go bad. Its function is similar to a controller for an electric cart.
Fuel System Check
No fuel means no start for a gas cart.
- Fuel level: Is there enough gas in the tank? It sounds simple, but many forget.
- Fuel filter: The filter can get clogged. This stops fuel from reaching the engine. Find it in the fuel line. Replace it if it looks dirty.
- Fuel pump: The pump moves fuel from the tank to the engine.
- Test: With the key on (or engine cranking), listen for the pump. It should make a hum.
- Disconnect the fuel line at the carburetor. Crank the engine. Does fuel squirt out? If not, the pump is bad, or the line is blocked.
- Carburetor: The carburetor mixes air and fuel. It can get clogged with old fuel deposits.
- Clean: Try spraying carburetor cleaner into the air intake while cranking. If the engine sputters, the carburetor is likely the issue.
- Rebuild: You might need to clean or rebuild the carburetor. This means taking it apart.
- Fuel lines: Check for kinks or cracks in the fuel lines.
Fix 3: Examine the Ignition and Key Switch
The ignition switch is where you put the key. It sends power to the rest of the cart. If the switch is bad, no power goes anywhere. It is a common cause for both electric and gas carts not starting.
Golf Cart Ignition Switch Repair
If your key switch feels loose, does not turn, or does not do anything when turned, it might be bad.
- Test the switch:
- Safety first: Disconnect the main battery negative cable.
- Locate the wires on the back of the ignition switch.
- Set your multimeter to continuity or ohms.
- Touch the probes to the input and output terminals of the switch.
- Turn the key to “ON.” The multimeter should show continuity (or very low ohms). If it shows open circuit (no continuity), the switch is bad.
- Some switches have multiple positions (On, Off, Lights). Test each one.
- Bypass the switch (for testing only):
- CAUTION: This bypasses a safety feature. Only do this if you know what you are doing.
- Safety first: Put the cart in neutral. Set the parking brake.
- Find the power input wire to the switch. Find the power output wire.
- Briefly connect these two wires together with a jumper wire.
- If the cart tries to start (or the solenoid clicks), the ignition switch is bad.
- Do not leave it bypassed. This is only for quick testing.
- Replace the switch: If the switch is bad, replace it with a new one. It is usually a simple swap. Take care to note which wires go where.
Other Safety Interlocks
Modern golf carts have safety switches. These stop the cart from starting if conditions are not safe.
- Accelerator pedal switch: This switch activates when you press the pedal. If it is stuck or bad, the cart won’t know you want to go.
- Test: Locate the switch under the pedal. Test for continuity when the pedal is pressed.
- Forward/Reverse switch: The cart needs to be in a gear to start. If this switch is bad, the cart might not know which way to go. It won’t start.
- Test: Check for continuity in forward and reverse positions.
- Neutral safety switch (gas carts): This switch ensures the cart is in neutral before starting. If it is bad, the cart might not start.
- Tow/Run switch: Many electric carts have a Tow/Run switch. Make sure it is in the “Run” position. If it is in “Tow,” the cart will not start. This switch cuts power to the controller for safety during towing or maintenance.
Fix 4: Check for Wiring and Connection Issues
Even with good parts, bad wiring can stop your cart. Loose, corroded, or broken wires stop power flow. This can affect anything from the battery to the motor.
Golf Cart Wiring Diagram
A golf cart wiring diagram is your best friend when looking for electrical issues. It shows you how all the parts are connected. It helps you trace power flow. You can often find diagrams online for your specific cart model. Or check your owner’s manual.
- How to use: Start at the battery. Follow the path of power. Look at the wires going to the key switch, solenoid, controller, motor, and other parts. Each wire has a job. The diagram helps you know what each wire should do.
Loose Wires
Vibrations can loosen wire connections over time.
- Visual check: Look at all the main cables. Tug gently on them. Are they tight?
- Terminals: Check where wires connect to posts. Are the nuts tight?
- Connectors: Look at plastic connectors. Are they pushed in all the way?
Corrosion
Corrosion is rust or buildup on metal parts. It stops electricity from flowing. It often looks like a white or blue powder.
- Common spots: Battery terminals, solenoid posts, motor terminals, and fuse boxes.
- Clean: Use a wire brush or sandpaper. Clean off all corrosion. Make the metal shiny.
- Protect: Apply anti-corrosion spray or grease after cleaning.
Fuses
Fuses protect electrical circuits. If too much power flows through a circuit, the fuse blows. This breaks the circuit. It saves other parts from damage.
- Locate: Your cart might have a fuse box. Or fuses might be in-line (in the middle of a wire). Check your wiring diagram.
- Test:
- Visually inspect fuses. A blown fuse often has a broken wire inside it.
- Use a multimeter set to continuity. Touch the probes to each end of the fuse. If it beeps (or shows 0 ohms), the fuse is good. If it does not beep (or shows “OL”), the fuse is blown.
- Replace: Replace a blown fuse with a new one of the exact same amperage rating. Never use a higher rated fuse. This can cause fire or damage.
Fix 5: When the Motor Isn’t Running
If you have checked the battery, solenoid, key switch, and wiring, and your cart still won’t start, the problem might be with the motor itself. This is less common but can happen.
Golf Cart Motor Not Running
When a golf cart motor not running is the final symptom, it can mean a few things:
Electric Cart Motor Checks
- Listen: Do you hear any sounds from the motor when you try to start? A hum might mean it is getting power but is stuck. No sound might mean no power, or it is truly dead.
- Resistance check (Ohms):
- Safety first: Disconnect the main battery pack from the cart.
- Locate the motor terminals. There are usually A1, A2, F1, F2 (for series motors) or three main terminals (for AC motors).
- Use a multimeter on the ohms setting.
- Series Motor:
- Test between A1 and A2. You should get a very low reading (close to 0 ohms).
- Test between F1 and F2. You should get a very low reading.
- Test between A terminals and F terminals. This should be an open circuit (OL).
- Test from any terminal to the motor case. This should also be an open circuit. If you get a reading, the motor is “shorted to ground.” This is bad.
- Shunt/Separately Excited Motor: Similar tests apply, but the readings might differ slightly. Consult your diagram.
- AC Motor: These are more complex. Often use an encoder. Best left to a pro unless you have specific AC motor testing tools.
- Physical check: Can you spin the motor shaft by hand (if accessible)? If it is locked up, it is likely bad.
- Burnt smell: A strong burnt smell coming from the motor usually means it is damaged.
- Motor brushes: In DC motors, carbon brushes can wear out. This stops power from reaching the armature. Replacing brushes can sometimes fix a motor. This needs some skill.
Gas Cart Motor Checks
For gas carts, the engine (not just the starter motor) needs to turn over.
- Compression:
- The engine needs good compression. This means the piston seals well in the cylinder.
- Use a compression tester. Screw it into the spark plug hole. Crank the engine.
- Check your manual for the right PSI. Low compression means worn piston rings or valves. This needs a full engine rebuild.
- Valves: Valves open and close to let air/fuel in and exhaust out. If they are stuck or bent, the engine won’t run right or at all.
- Timing: The engine’s timing must be correct. If the timing chain or belt jumps, the engine won’t run.
When to Call a Professional
If you have checked all these points and your golf cart still won’t start, it might be time for a professional. Some problems are too complex or need special tools.
- Controller issues: Testing and replacing a controller is hard. It can be costly.
- Motor internal damage: If the motor has internal shorts or broken parts, it needs repair or replacement. This is a job for an expert.
- Complex wiring problems: If the wiring diagram makes no sense, or you cannot find the break, a pro can use special tools to trace it.
- Engine rebuild (gas carts): If you have low compression or bent valves, the engine needs serious work.
General Troubleshooting Tips
- Safety First: Always turn off the cart. Remove the key. Disconnect the main battery negative cable before working on electrical parts. This prevents shocks and damage.
- Cleanliness: Keep all areas clean. Dirt and debris can cause problems.
- Organize: Keep track of screws and parts. Take pictures as you disassemble.
- Tools: Have basic tools ready: multimeter, wrenches, screwdrivers, battery terminal cleaner.
- Patience: Troubleshooting takes time. Go step-by-step. Do not rush.
- Manufacturer Manual: Always check your cart’s owner’s manual. It has specific details for your model. It often includes a golf cart wiring diagram.
Preventative Maintenance
The best fix is to stop problems before they start. Regular care keeps your golf cart running well.
- Battery care: Clean terminals, check water levels, charge often. (Revisit Fix 1).
- Tire pressure: Keep tires properly inflated. This makes the cart run better.
- Brake check: Check brakes regularly. Adjust if needed.
- Steering: Check steering for looseness. Lubricate joints.
- Gas cart specifics:
- Change oil regularly.
- Replace fuel filter.
- Clean air filter.
- Replace spark plugs.
- Check belts.
- Electric cart specifics:
- Check all wiring connections.
- Keep motor and controller clean.
By following these steps, you can fix many common golf cart starting problems. You will save money and get back to enjoying your cart. Remember, basic care goes a long way.
Frequently Asked Questions (FAQ)
Q: Why does my golf cart click but not start?
A: This usually means your battery has just enough power to activate the solenoid (the “click” sound), but not enough to turn the motor over. It could also mean the solenoid itself is bad, or the motor is locked up. Start by checking your battery’s charge.
Q: How often should I charge my electric golf cart?
A: You should charge your electric golf cart after each use, no matter how short the trip. Even if you only use it for a few minutes, plugging it in will extend battery life. Do not wait for the batteries to be fully dead.
Q: What tools do I need for basic golf cart repair?
A: For most common fixes, you will need a multimeter (to check voltage and continuity), a set of wrenches and sockets, screwdrivers (Phillips and flathead), a wire brush for cleaning battery terminals, and possibly a battery hydrometer for flooded lead-acid batteries.
Q: Can I jump-start my golf cart with my car?
A: You can jump-start a 12-volt gas golf cart battery with a car battery, but never jump-start an entire 36V or 48V electric golf cart battery pack from a car. You can ruin the golf cart’s electrical system or controller. If an electric cart battery is very low, you can try charging individual batteries with a standard 12V charger, then use your golf cart charger.
Q: How long do golf cart batteries last?
A: Golf cart batteries typically last between 3 to 5 years. Their lifespan depends on how well you care for them. Proper charging, regular watering (for flooded lead-acid), and keeping them clean will help them last longer.